


 CN
CN
 HOME
HOMECheap and Simple Bottle Cap Magnets!
 Jul 30,2025

 Pu You
Cheap and Simple Bottle Cap Magnets!
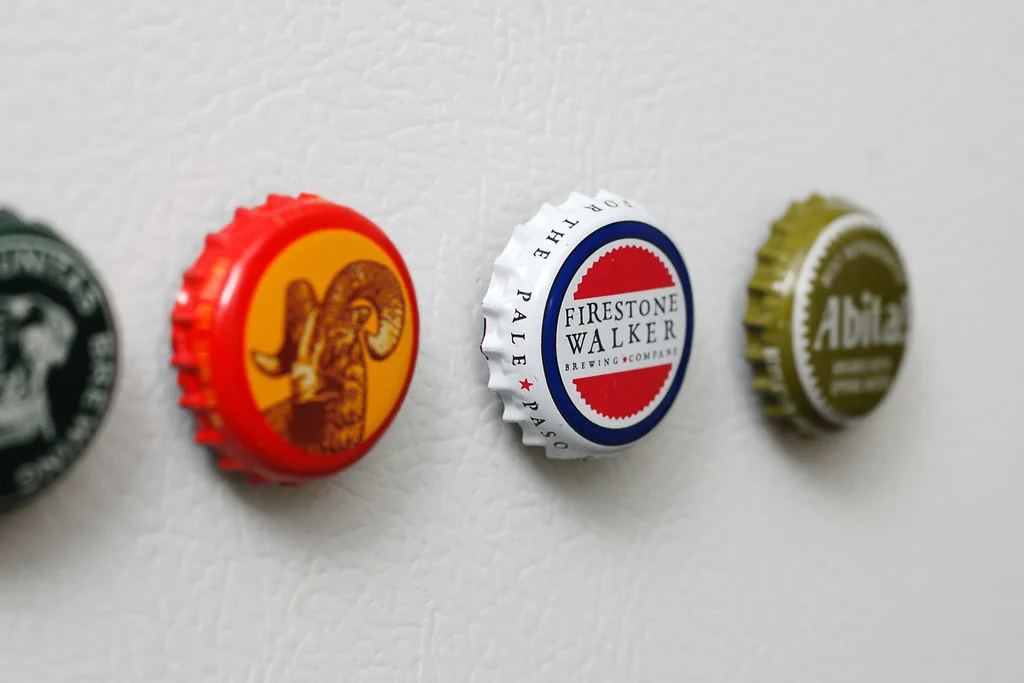
Extra bottle caps lying around? Need a quick way to display 'em? Just need a few more fridge magnets?
A quick, cheap, and simple way to turn your extra bottle caps into simple yet cool fridge magnets. Plus graphic designer in my loves the variety, color, and visual dynamic that a few bottle caps on a fridge can create.
This is the quickest, cheapest, and most bare-bones method. you could go crazy with materials, but I can't personally justify spending tons of money on extra bottle caps. Total cost, if you factor in the glue used, comes to around 15 cents per magnet. not bad in my book.
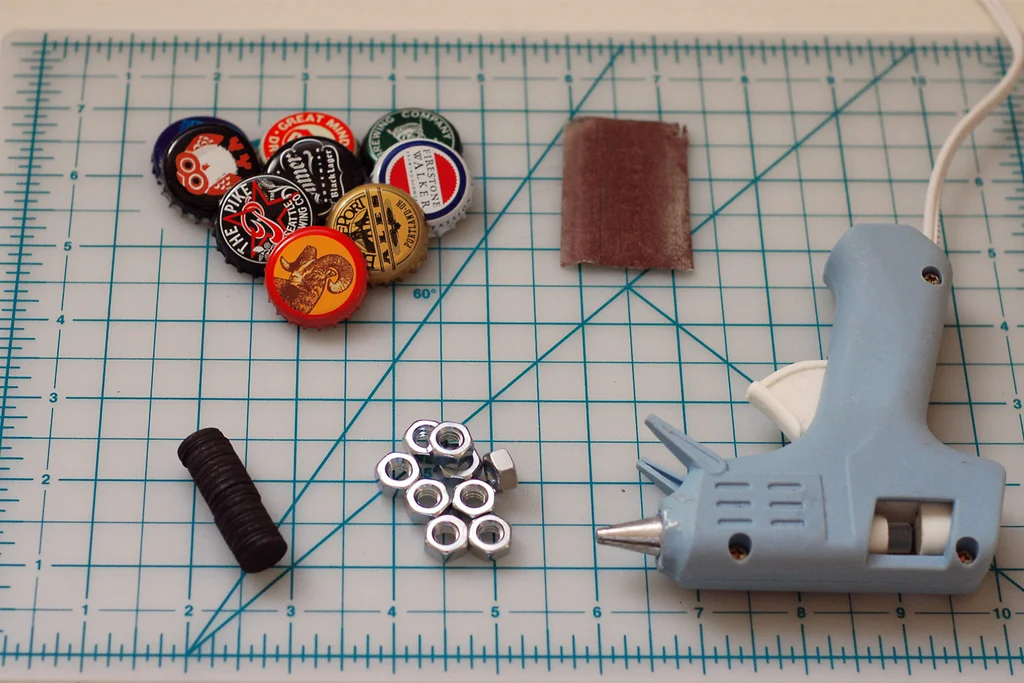
Here's the bare bones materials list:
- bottle caps
- sandpaper (I used 220 grit... the grit isn't critical)
- hot glue gun
- hot glue sticks
- button magnets (1/2")
- 1/4" hex nuts
Notes on the magnets:
sure, one could use heavy-duty neodymium magnets, but they cost significantly more and for my purposes, the simple ProMag Magnetic Buttons (available at local craft stores i.e. Michael's, Hobby Lobby, etc. ) work well and come out to only a few cents per magnet. They sufficiently hold photos, postcards, papers, etc. And are soft enough that no damage could possibly be inflicted on fridge surfaces.
Notes on the glue:
You could easily go all out and use some heavy duty epoxy or other adhesive, but hot glue is simple, quick, and cheap. For these bare-bones magnets, hot glue does the trick.
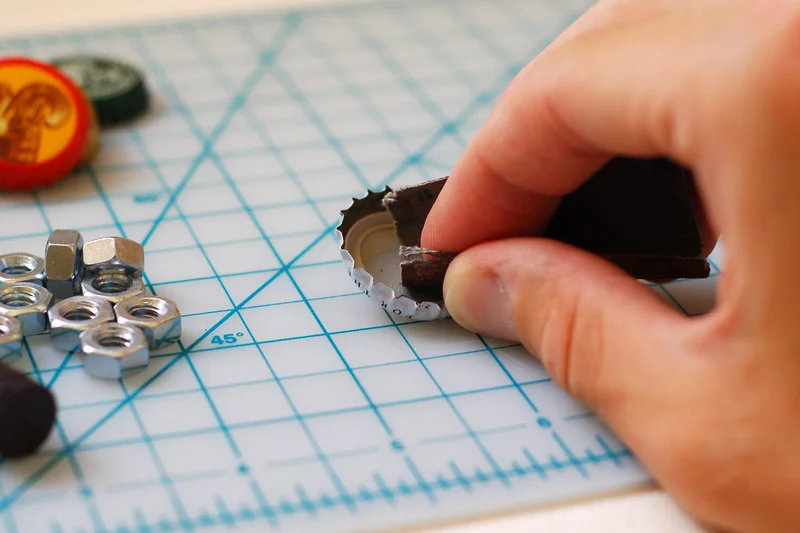
Why Nuts?
using a nut helps space the bottle cap off of the fridge surface so there's no chance of scratching the surface, and creates a uniform distance between the magnet and the bottle cap. Using a large gob of hot glue usually creates a relatively uneven wonky mess.
One other note: I've found that the best way to remove bottle caps without causing any damage is to use the bottle-opener end of a wing-style corkscrew. The larger dimensions usually spread the force evenly across the cap so it doesn't crease or bend.
 New Arrival! Sublimation Music Fridge Magnet Blanks for Heat Press Machine Built-in Music Can Play Songs
 You May Also Like

 Tel
Tel
 Email
Email
 Address
No. 20, Xiya South Road, Xiayuan Village, Ningxi Street, Zengcheng District, Guangzhou City, Guangdong Province